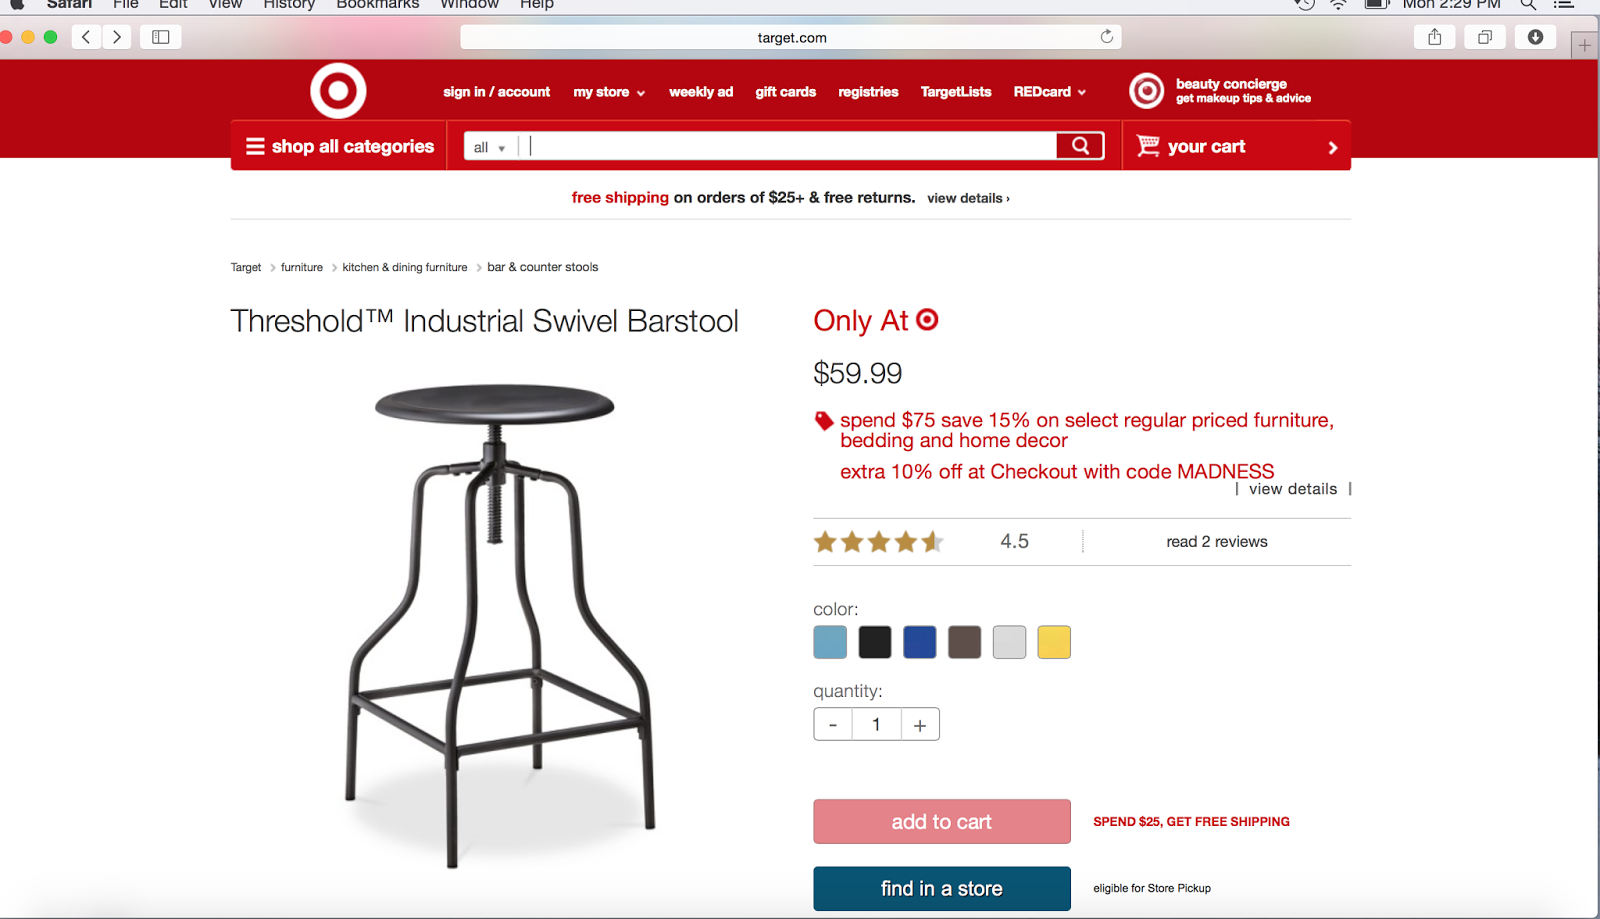
This corner of our living room is my favorite place to sit. I keep my laptop and iPad charger just behind this oh-so-comfy Ikea chair along with whatever book I am currently reading. I guess you could call this "my spot". But I was missing a side table here. A place to rest a cup of coffee and such. I had my eye on a cute little industrial table from Target, but the online reviews were awful and when I went to see it in the store, I realized why. The top was made very poorly. So there in the furniture aisle at Target, I spied this industrial stool on sale for $50 and I knew that there was a $10 off coupon code for furniture online that week. The stool looked just like the bottom of the table I liked and I knew that we could build a much better top, for much less than the $80 table I had come to look at.
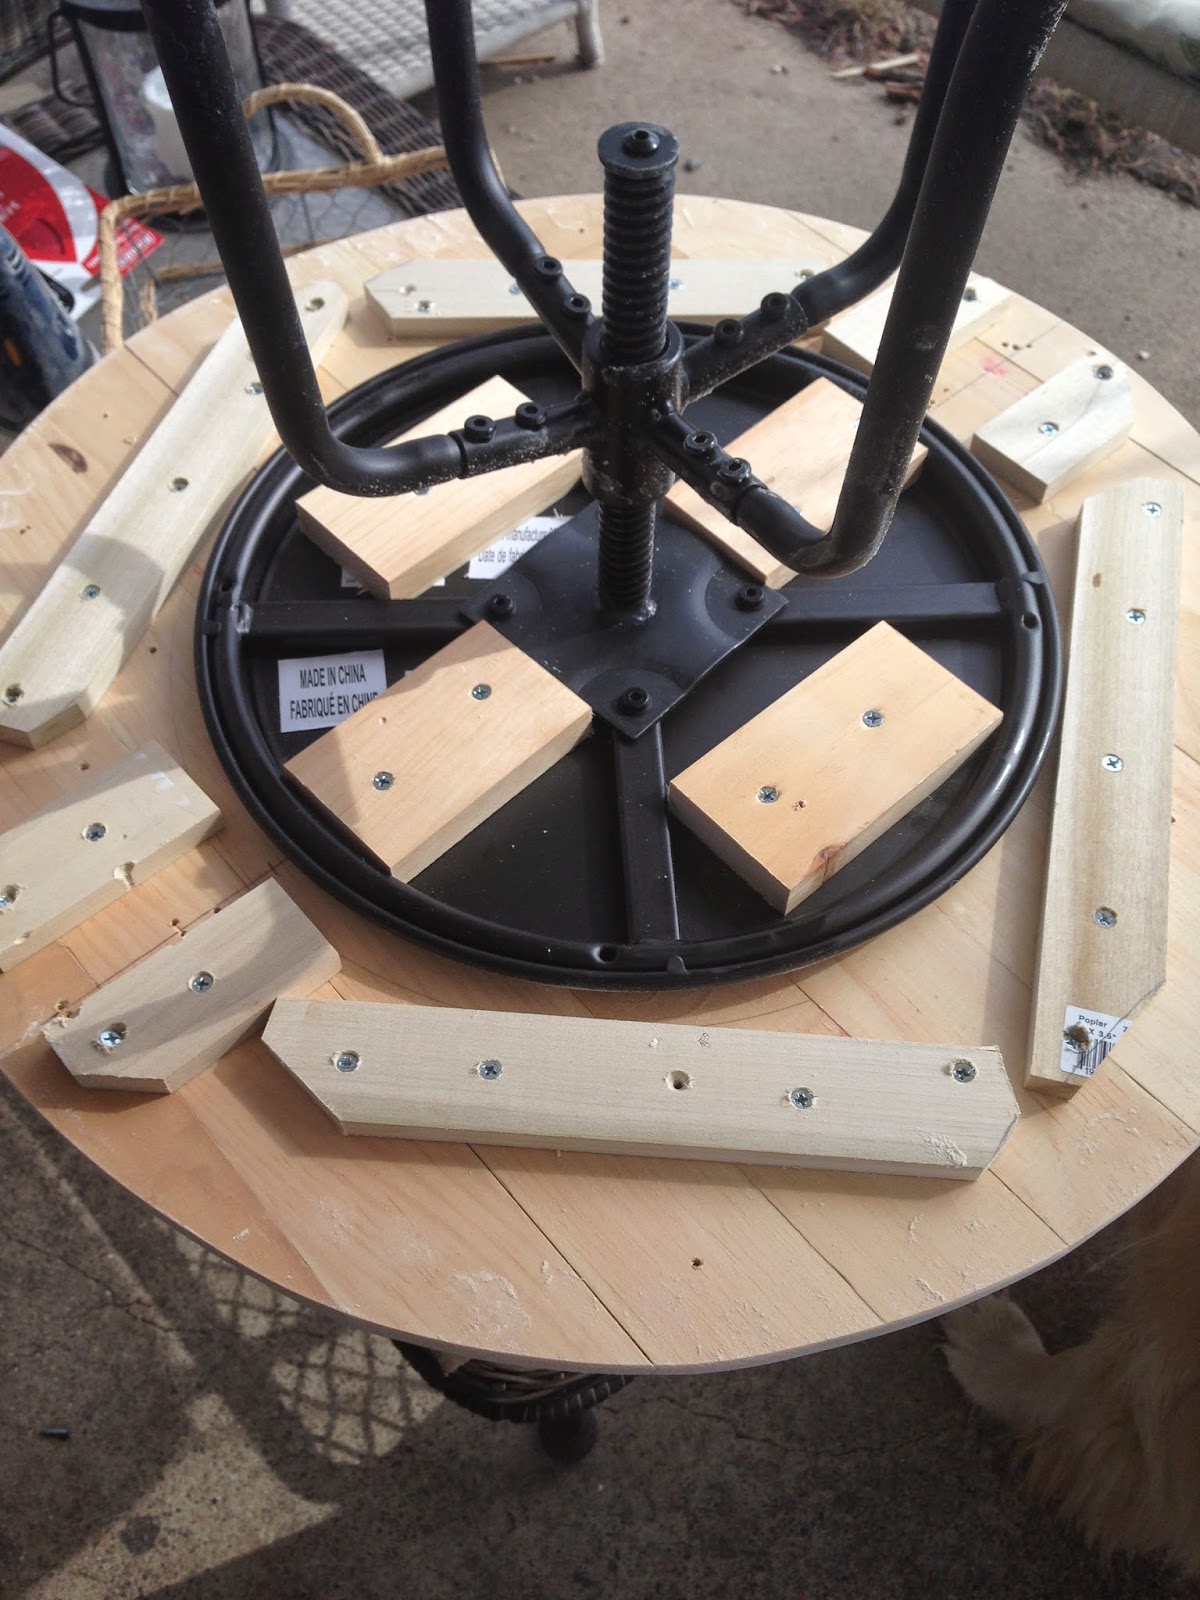
So I came home and ordered this exact stool. Billy, my husband, put the stool together and made a round wood plank top for it with some leftover pine planks we had in our basement. First, he cut them into a square and screwed them together on the back.
Then he traced a 23" circle and cut out the round shape with a jigsaw. Next, he attached it to the top of the stool by screwing blocks of wood through the stool into the table top. After sanding the edges, we had a new side table. This was just one of those wing it using whatever you've got on hand projects!
I wanted the table top to have a weathered wood appearance to go with the industrial base. First, I brushed on 2 coats of regular brewed tea.
Then, I used a vinegar stain, just as I did with our Ikea hack coffee table. I simply place some steel wool in a mason jar with vinegar, put the metal lid on, and let it sit for 2-3 days. Then I just brushed it on the tea stained wood. I am always amazed at how quickly this stain changes the appearance of wood. Finally, we added a coat of Minwax clear wax.
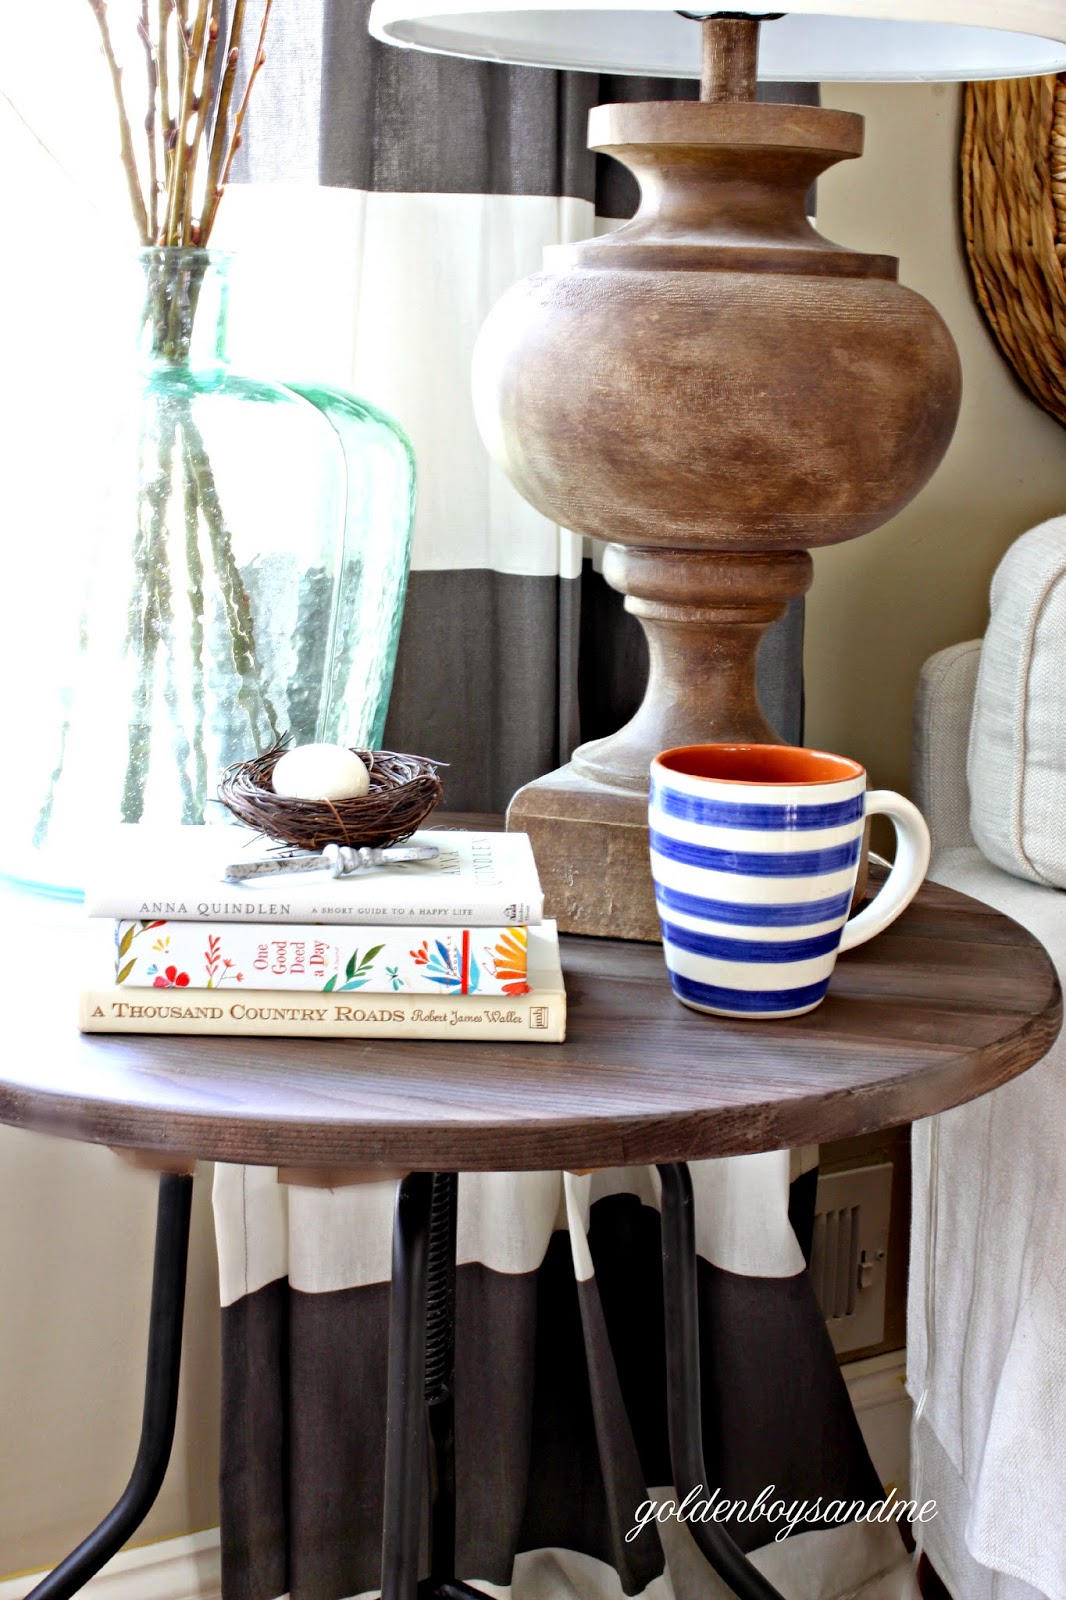
Here is the new "stool" table with the dried stained top. The vinegar stain dries much darker than when you first put it on and with a more grayish color, like weathered wood:
Now my little corner functions even better.
We are so happy with how our new little table turned out. Total cost for this project was $40 for the stool on sale.


This looks SO good! You are so creative, I love it all. Hope you're having a happy week, CoCo
ReplyDeleteThanks so much, Coco! Hope you are having a great week too.
DeleteI adore it! So simple and beautiful!
ReplyDeleteWhat a great Idea Courtney! Look like it was meant for your little cozy spot!
ReplyDeleteCourtney,
ReplyDeleteI love it! I love the vinegar stain idea. I have never heard of that. It looks just perfect by your comfy chair.
Gotta love those hubby's with tools and they know how to use them :) Great vision on this.
Kris
Brilliant! Great idea! I've never heard, or maybe I just forgot, of the tea staining with vinegar wash after...looks fantastic! ;)
ReplyDeleteGreat repurpose! Love the transformation.
ReplyDeleteLOVE it! What a cute idea. You are so creative and so lucky to have a handy husband!
ReplyDeleteShelley
That is a cute table and diy for your lovely sitting spot. I really like the patterns of the pillow and curtains with your industrial stool. Thanks for your recent visit and kind comment on my dresser makeover. Just like you said about the dresser, this little table you made is another great piece that can be used in so many places. I am saving an old IKEA thick dresser top for a project like this one day.
ReplyDeleteAwesome Courtney that turned out perfect and I love it that she got it so cheap! You go girl!
ReplyDeleteLove your drapes...I suppose there's a source here somewhere?
ReplyDeleteThank your site! Your article is very useful to me! it's great that I known this site
ReplyDeletehappy wheels the game free | wings.io | games for kids
Thanks for sharing
ReplyDeleteavriq
"If you are facing HP Printer in error state windows 10 issue then we have compiled some straightforward steps,you can follow that will solve this problem.
ReplyDeleteHP printer in error state"
Nice content thanks for sharing with us.I appreciate your content! Looking to learn the essential and basic steps to Configure office 365 PSU on your devices. You need to follow the steps for PSU webmail without any interruptions.
ReplyDelete